Garageband is an Apple-developed digital audio workstation and music sequencer with a comprehensive set of features for music production. When combined with the best portable keyboard, you can turn your home into a mini recording studio without any additional equipment.
Garageband allows you to create and record music in both 16 and 24-bit resolutions. You can also use it to create melodies on your MIDI keyboard by using a variety of instrumental effects, audio filters, and sound effects (reverb, echo, distortion, and so on). It also includes a tuning system that accurately replicates the well-known Auto-Tune effect.
With so many benefits, you might be wondering how to use a MIDI keyboard with Garageband. This feature-rich DAW is obviously quite complicated, but you can get started using it like a pro right away.
Using MIDI Keyboard with Garageband
Connection
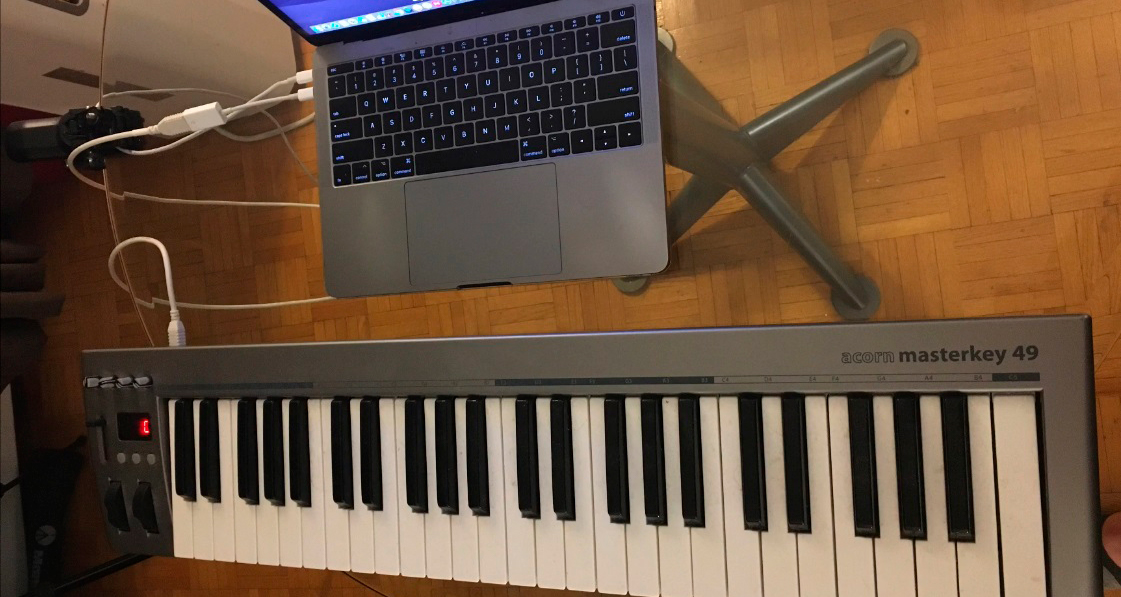
Let’s talk about the gear you’ll need to connect a MIDI keyboard to Garageband before we get into how to connect a MIDI keyboard to Garageband. If your MacBook has been released before 2020, you will need only the USB-to-Firewire cable. The newer models require the USB-to-USB-C adapter. It doesn’t necessarily have to be an Apple product, any other brand will suffice. If you have the MacBook Pro 2020, for example, you have to attach the USB-C to USB adapter to your laptop and then connect it to the USB-to-Firewire cable.
If your MacBook or DAW refuses to recognize the keyboard, open Garageband, go to the Preferences menu, then to the Audio/MIDI menu, and select “Reset MIDI drivers.” If this doesn’t work, double-check the cables for authenticity.

Creation of melodies
Before you start making melodies in Garageband, you should be aware that the most recent versions of the DAW do not allow you to assign sounds or individual samples to the keyboard. I’m not sure why Apple decided to eliminate this feature, as it was quite useful. If you have an older version, however, you will not have any issues.
There are no manual parameters in this DAW for the Garageband MIDI controller mapping. Garageband triggers the appropriate commands when it detects MIDI messages. These messages can be edited in the Preferences menu.
Melodies can be created in one of two ways: using your MIDI keyboard or manually typing MIDI notes on a trackpad.
New Software Instrument Track
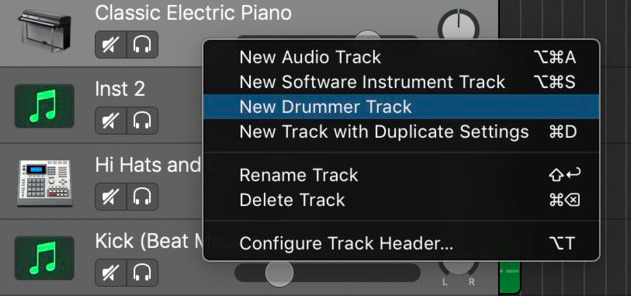
After you create a melody on your keyboard, you need to copy and paste it into a New Software Instrument Track. If you want to create one more Software Instrument Track, right-click Track Header and select it from the menu that will open up. The track can be deleted using the Command + Delete function.

Note Settings
When using MIDI keyboard with Garageband, you will definitely need to change the parameters of the notes. To do that, go to the Piano Roll Grid menu.
-
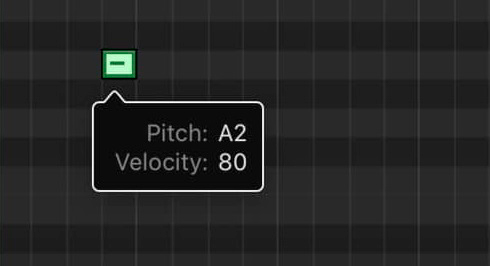
- Timing. The notes on a trackpad look like small green squares. You can drag them into any pitch and time you wish. If you want everything to be perfectly synchronized, you’ll have to zoom in on your MacBook to see all of the lines on the trackpad.
- Pitch. The vertical keyboard, located on the left side of the trackpad, allows you to see each note played on your MIDI keyboard. Drag and drop the notes to the desired pitch. You can see the pitch of each note by hovering the cursor over it (and also the velocity).

- Velocity. Velocity settings allow you to change the level of loudness/strength of each individual note. On the left side, you will see a slider, labeled “Velocity”. Click on the note, and change its loudness using the slider.

Hi everyone! I’m Thomas Moody, also known as Guitarzan.
